Wolves Fancast
·23 January 2021
Gully’s Tactical Analysis – Half-Term Report

Wolves Fancast
·23 January 2021

I mentioned in my last video that #WBA did well to get Matheus Pereira on the ball around 10% of all their touches during the game. He felt like a large influence and I wanted to explore this further from a #WWFC perspective.
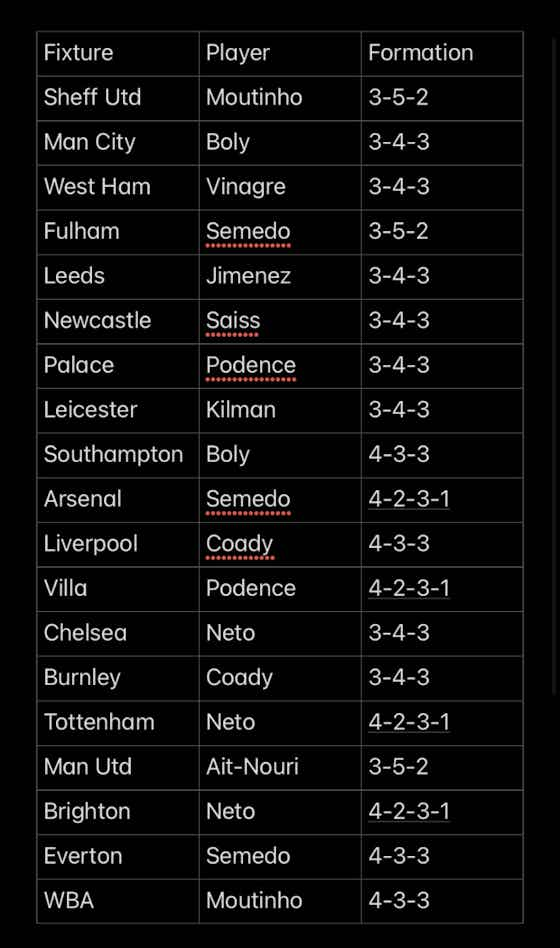
So I decided to have a look back at every game we’ve played so far this season and apply the #TenPercentRule as far as I could.
Important to say that figure cuts through the fact centre backs, deep midfielders will monopolise possession for a lot of teams
SHEFFIELD UTD (A)
Joao Moutinho
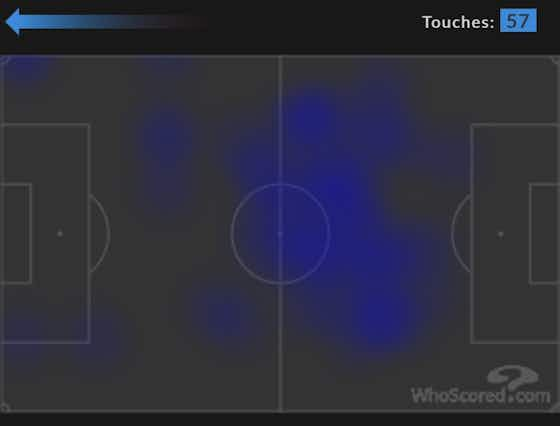
An odd one given the work was done early on, so perhaps not too much to take from this, but JM normally features to the left. Spread across the central area shows he had licence to go and find the ball.
MAN CITY (H)
Willy Boly
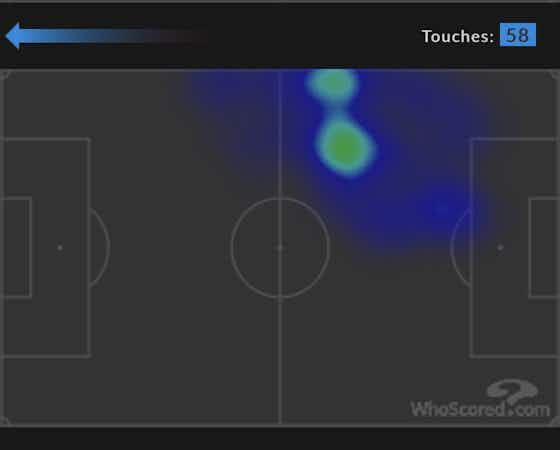
The fact Boly is the player featured here tells a story, we effectively wrote off the first 45 minutes as an attacking force. A very wide position, which tells you how high we like to push our WBs in possession, Traore on this occasion.
WEST HAM (A)
Ruben Vinagre

Nice to see him get a mention! Fairly typical heatmap for one of our more adventurous wing backs but for a player notorious for a lack of end product to be allowed so high up the pitch, can only be part of a plan, shown by the final score.
FULHAM (H)
Nelson Semedo

Fulham were desperate to tighten up at this point and this was pretty early in Semedo’s Wolves career, but a sign that he would become increasingly influential in possession. Forced a good save from Areola in this one too.
LEEDS (A)
Raul Jimenez
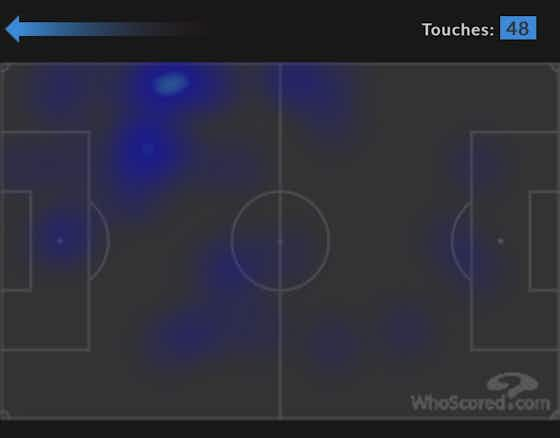
Perhaps the most obvious proof of the ‘rule’. We simply don’t win this game without Jimenez. An excellent ability to relieve pressure when most required.
NEWCASTLE (H)
Romain Saïss
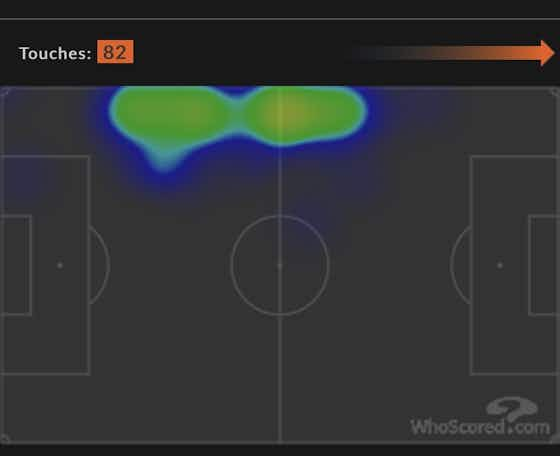
This was a sore point. Quite obviously a game too far for the Saïss at LWB necessity. Another game where we were held at arms length for much of it and his lack of action in advanced areas hurt us inadvertently.
CRYSTAL PALACE (H)
Daniel Podence

This was more like it, with a good level of chances created and a good level of involvement for the forwards. Podence on the scoresheet the icing on the cake, but in a slightly wider role he combined well with WB, CF and RW.
LEICESTER (A)
Max Kilman

This result jars and my vivid memory of it was a struggle to really get the ball out of own defensive third, highlighted by Kilman’s heavy involvement, although he advanced beyond the halfway line on occasion too.
SOUTHAMPTON (H)
Willy Boly
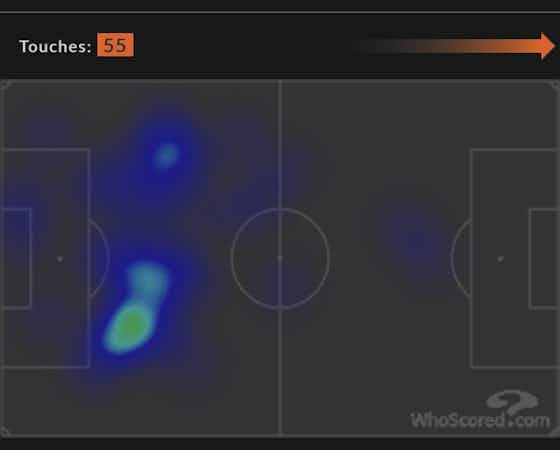
Significantly the first change to a back four of the Nuno era, something that felt forced given Coady’s absence that day. In any case, a lack of time working on ball progression in this shape explains Boly’s possession of the ball.
ARSENAL (A)
Nelson Semedo

The lowest point of the season and yet one of the highlights at the same time. An excellent first half in particular and nice to see Semedo’s influence growing. With Aubameyang as his direct opponent, this feels brave too in what was a 4-2-3-1.
LIVERPOOL (A)
Conor Coady
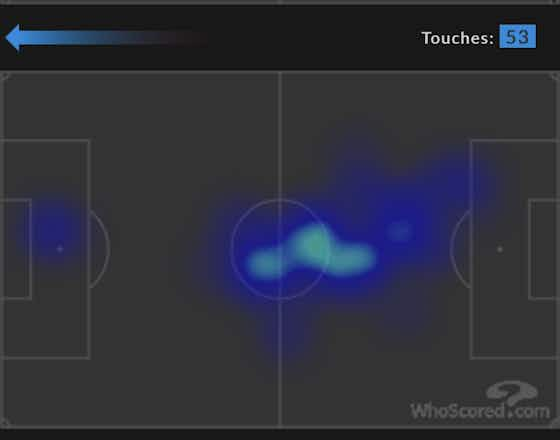
An odd game, where we decided to go strikerless and despite not being torn apart, were turned over handsomely. The lack of focal point started to hurt us though, perhaps explaining Coady’s prominence in possession.
ASTON VILLA (H)
Daniel Podence
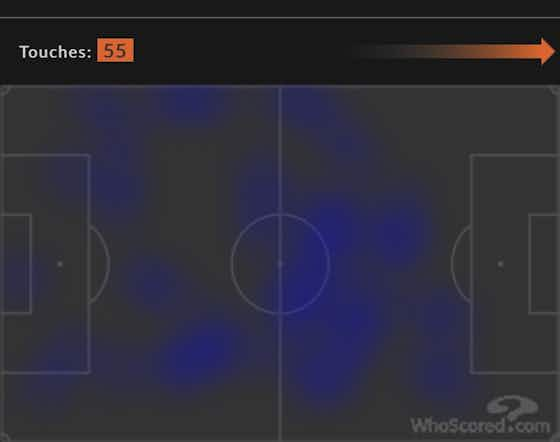
Another disappointing defeat but one where we played well for the most part, evidenced by getting Podence on the ball plenty. Perhaps we could have used him more in the final third though as we still scored 0.
CHELSEA (H)
Pedro Neto
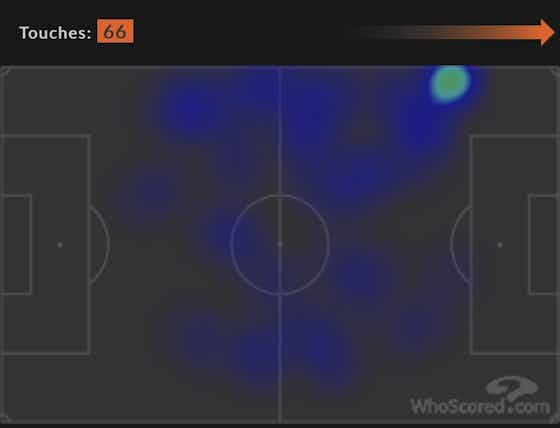
At this point, Neto is without doubt our prime attacking talisman and it seems fitting he comes out as the key benefactor of this performance giving his winning goal. Drifting more and more as well, as is necessary. We need him on the ball.
BURNLEY (A)
Conor Coady
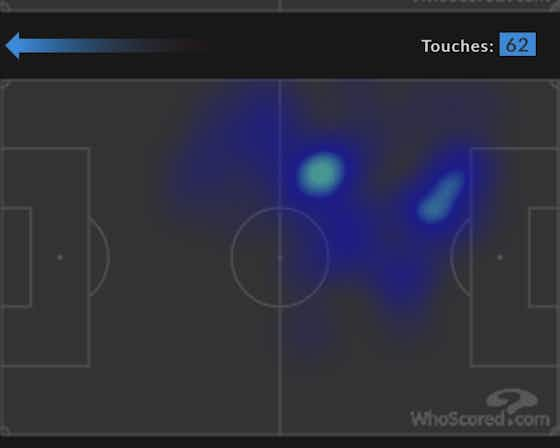
Perhaps a recurring theme here is Coady featuring in a number of our poorest performances, which may even suggest he’s not getting on the ball enough. 10 percent is by no means a majority share in a team’s possession.
TOTTENHAM (H)
Pedro Neto
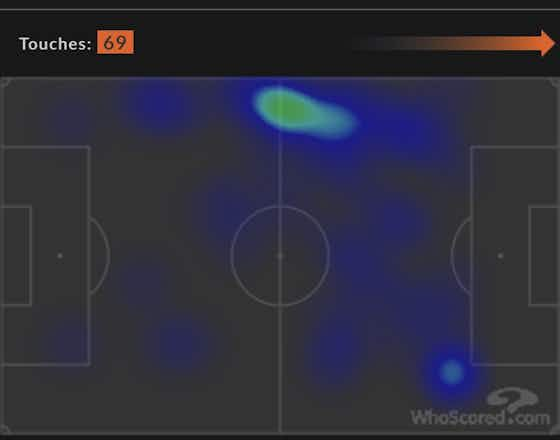
Another recurrence – a strong 90 minute performance with Pedro Neto at its heart. Again, with licence to drift but initially from a station on the left flank. He and Adama could both do with diversifying to switch flanks on occasion.
MAN UNITED (A)
Rayan Aït-Nouri
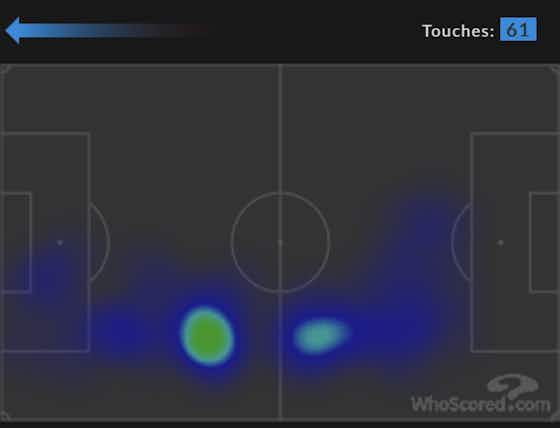
Generally a rearguard action against United, but this was Aït-Nouri’s most complete performance since he arrived. Definitely more comfortable in possession and shown he can add depth down the left flank in attack.
BRIGHTON (A)
Pedro Neto
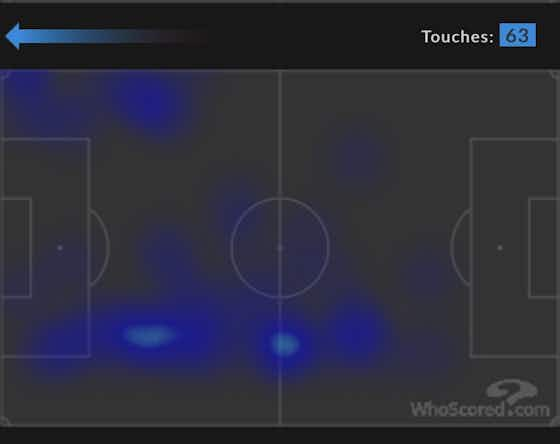
A really strange game and a slight anomaly in the sense that I didn’t feel like we played particularly well, but 3 goals and Neto the key attacker tells some kind of story. Looked knackered in this one and much less drifting in general.
EVERTON (H)
Nelson Semedo

Another gutting defeat where we hadn’t been terrible, but a lack of forward threat, this time in Traore’s absence placed much more onus on other areas of the pitch. Semedo certainly took up the mantle.
In summary, there appears to be some level of correlation between the ‘ten percenters’ and the result, in particular in forward areas. Pedro Neto and Daniel Podence feature heavily in those good performances, but Adama Traore is conspicuous by his absence. More needs to be done to get him involved.
Elsewhere, Coady as a centre-back will generally feature heavily up the list of number of touches, so when he does drop down to a lower share, like in the above games, we seem to suffer without his wide range of passing.
You can see from the initial table how much we’ve flitted in and out of different shapes and you can basically draw a line between inconsistent selections and inconsistent results, but there seems to be fairly simple conclusion here – get the forwards on the ball more often.
GullyMusings from MolineuxTwitter – @molineuxmusings
Follow us on: Twitter: @WWFCFancastFacebook: Wolves Fancast Instagram: wolves_fancast Web: wolvesfancast.com Email: podcast@wolvesfancast.com


